
In homes with central air conditioning and heating, leaky ductwork can lead to serious energy loss. According to the EPA, the typical home with a forced air HVAC system loses between 20 and 30 percent of its conditioned air due to duct leakage. That’s a lot of wasted fuel.
It’s also a lot of wasted money.
The solution is to seal your ducts so tight that they leak almost no conditioned air into unconditioned spaces. At PV Heating, Cooling & Plumbing, when we seal air ducts, we aim for 4% duct leakage or less. That’s very little leakage. It’s so little that people in the industry are often surprised we can achieve it. But we do.
We seal and measure and seal and measure until your ducts are as tight as we can get them. Here’s how that process unfolds.
1. Only use duct mastic and high-quality mastic tape.
Thin foil tapes are a no-no. They can fail after just a few years! If you want to stop leakage for the long haul, you need a tub of mastic and a brush.
Your other option is genuine mastic tape, like Hardcast Foil Grip 1402. Mastic tapes are thicker than standard foil tapes and the adhesive contains actual mastic sealant. The best ones can keep your ducts sealed shut for 40 years.
2. Seal all duct connections and joints.
Got your mastic or mastic tape? Good. The next task is to seal every area where duct material meets duct material… or any other type of material.
That might be two duct runs joined together at a connector. It might be at duct elbows or bends. It might be at a supply boot connection, depending on the location of the ductwork.
You’re trying to get the low-hanging fruit.
Also be sure to seal all the plenums, including where the plenums connect to the indoor unit. In many cases, this is where the bulk of duct leakage occurs.
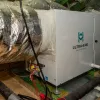
3. Perform a duct blaster test.
Don’t worry. We don’t blast your ducts to pieces.
Rather, we “blast” non-toxic smoke through your ducts using special equipment. Then we look for areas where the smoke leaks out of the ducts. We seal all of those up. Here’s how it typically goes down:
- Blast smoke through the ducts.
- Seal up areas where the smoke comes out.
- Blast more smoke through the ducts.
- Seal up more areas where the smoke comes out.
- Blast more smoke…
You get the idea. After sealing up the points of least resistance, new points of least resistance spring up, so you have to seal those. We keep doing this until we stop seeing smoke come out of leaky spots in your ductwork.
4. Perform a pressure test.
After the duct blaster test, it might be tempting to go ahead and insulate the duct connectors. That’s not the best approach, though.
What you really ought to do is perform a pressure test to measure actual duct leakage. That way, you’ll know whether you’ve hit the 4% threshold or not. If you haven’t, you’ll need to go back and seal any leaks you missed. More duct blaster testing!
The more ambitious your target – and make no mistake, 4% is super ambitious – the more you’ll have to test and seal and test and seal. Don’t worry. It’s well worth the effort.
5. Insulate the duct connectors.
After your pressure test confirms that you’re below the target duct leakage percentage, you can insulate the areas you sealed. The problem with insulating before sealing the ducts is twofold:
- You can’t see where the duct blaster smoke coming out of insulation is covering a leak.
- You can’t reseal the ducts when they’re covered up by insulation. You’d just have to remove the insulation anyway.
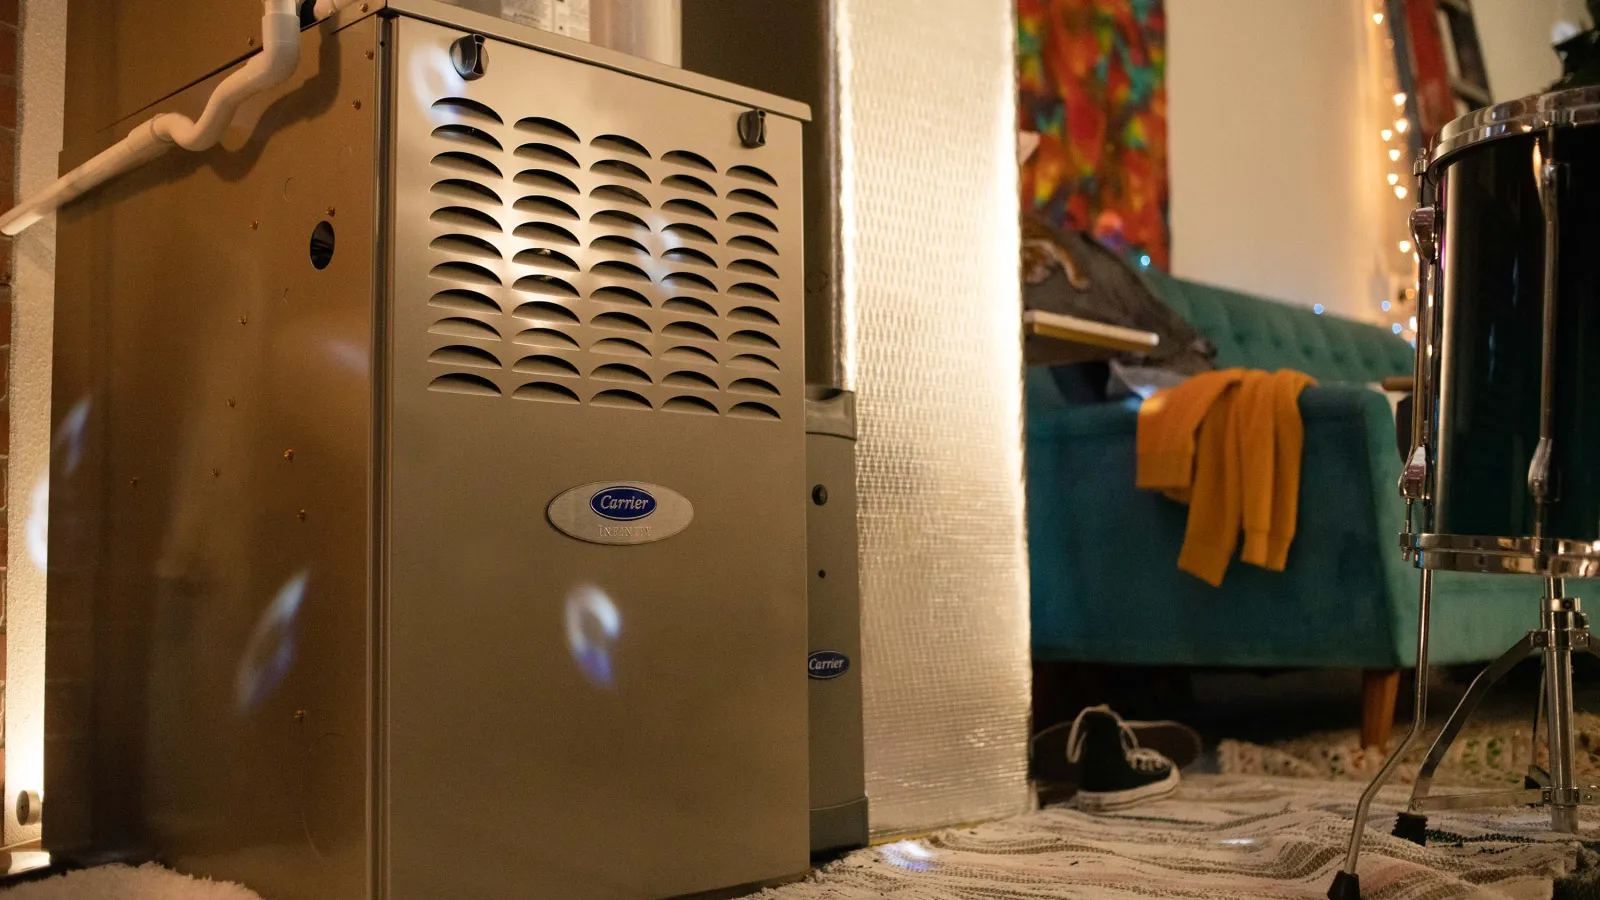
6. Seal the access door on your indoor unit.
This is the only place where it makes sense to use a less robust foil tape. Since your HVAC technician needs to open the door from time to time to service your equipment, it’s ok to use a tape with a shorter lifespan. We use tapes that can be easily removed for service.
The biggest takeaway? You’ve got to test and seal and test and seal.
Achieving 4% duct leakage takes work. You really can’t seal everything up in one go and call it a day. You’ve got to check your work and keep sealing the leaky spots until there aren’t any.
In a typical home, we perform several cycles of sealing and testing. As long as the ductwork is accessible, we can always get leakage to 4%. But it takes a while.
But when the job is done, the result is awesome. You’ll probably see lower energy bills – noticeably lower in many cases! You may also experience better air distribution throughout your home and, if you had a lot of leakage at the return, better indoor air quality.
Good duct sealing isn’t an easy breezy, half-hour job. Doing it right is hard, but it’s also well worth the effort.